Installing the VR Manager Software
Note – The person installing the VR Manager Software must have administrative rights on the computer(s) where the installation is taking place for the installation to be successful.
If there is no install file, make sure the following six files are located in the same folder:
-
VRManager.exe
-
AutoUpgrade.exe
-
AutoUpgrade.Lib.dll
-
SSiControls.dll
-
SSiLibrary.dll
-
ZedGraph.dll
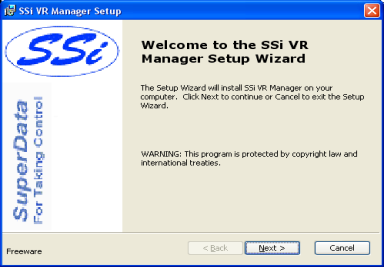
If there is a setup file, follow these instructions. Double-click on the setup file, VRManagerSetup.msi to start the auto-installation. If there is no version of the VR Manager running on the computer, the installation will display a splash screen. Click on the Next > button to begin the installation.
Click on the Cancel button to cancel the installation. The user will have to confirm the cancellation.
Click on the Finish button to close out the installer.
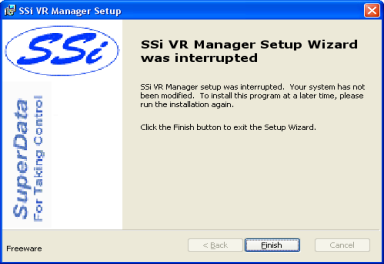
Since the VR Manager software uses the Microsoft .NET 2.0 framework, the framework must be installed on the computer in order for the software to run. If you are unsure if the .NET framework is installed on the computer, contact Super Systems Inc at 513-772-0060. If the .NET 2.0 framework is not installed, click on the Cancel button to close out the installer and install the framework. The user will have to confirm the cancellation. Note: The .NET framework installation file is named “dotnetfx.exe”.
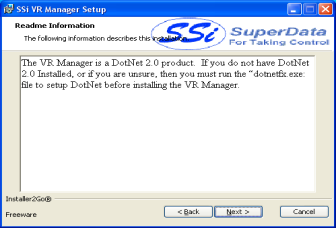
Clicking on the < Back button will display the previous screen, and clicking on the Next > button will display the next screen. The next screen will prompt the user for the download location.
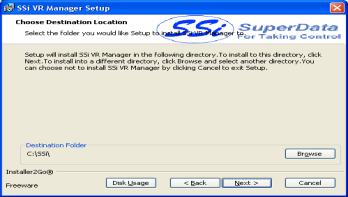
The default location is “C:\SSI\”. Note: The installer will automatically create a “Bin” folder to install the files to. For example, if the default location, “C:\SSi\” is used, then the files will be installed to “C:\SSi\Bin”. Click on the Browse button to select an alternate location. Clicking on the Disk Usage button will display the available computer drives onto which the SDS Reporter can be downloaded, as well as the total space, available space, required space, and the difference between the available and required space for each drive.
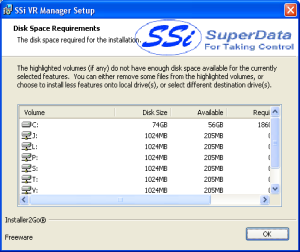
Clicking on the OK button will close out the disk usage screen. Clicking on the < Back button will display the previous screen. Clicking the Next > button will continue with the installation process. Clicking on the Cancel button will cancel the installation process. The user will have to confirm the cancellation.
Clicking on the Cancel button will cancel the installation process. The user will have to confirm the cancellation. Clicking on the < Back button will display the previous page. Clicking on the Install button will install the software to the specified location.
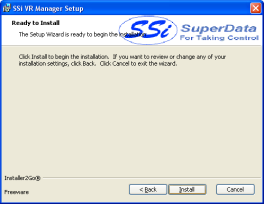
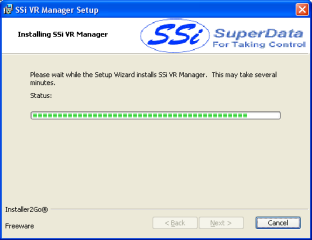
Once the software has been installed, the VR Manager will be ready to use.
Click on the Next > button to continue.
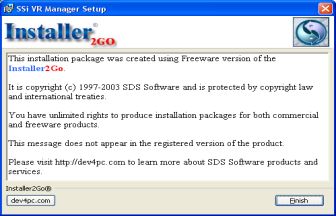
The last screen is a description of the software used to install the VR Manager software. Clicking on the dev4pc.com button will display the dev4pc.com homepage, the authors of the installer software. Clicking on the Finish button will close out the installer.
If there is a version of the VR Manager already installed on the computer, the installer will either re-install the software (Repair button) or remove the software from the computer (Remove button). Clicking on the Cancel button will cancel the actions. The user will have to confirm the cancellation. Note: the installer does not remove any subfolders in the main VR Manager folder. These files will have to be manually removed.
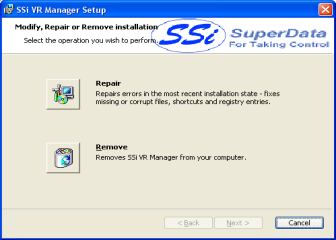
The Repair option will allow the user to repair the installed files. This option is useful if the installation was interrupted in some way and did not finish on its own. The Remove option will remove the main executable file from the computer.